Monday, July 27, 2015

Dyed Galaxy Ergo Baby Carrier

I got this Galaxy Ergo for super cheap on ebay because it had a few stains and was old and worn. Still in great condition for carrying a baby and a great dye blank!  I tried to find some information about how to dye this carrier but couldn't really find a good tutorial, so I decided I would document everything I did and write my step-by-step instructions for other people. I am currently wearing my 11 day old baby in the finished dyed Ergo while I type this post!
Here is the carrier before I dyed it, complete with stains.


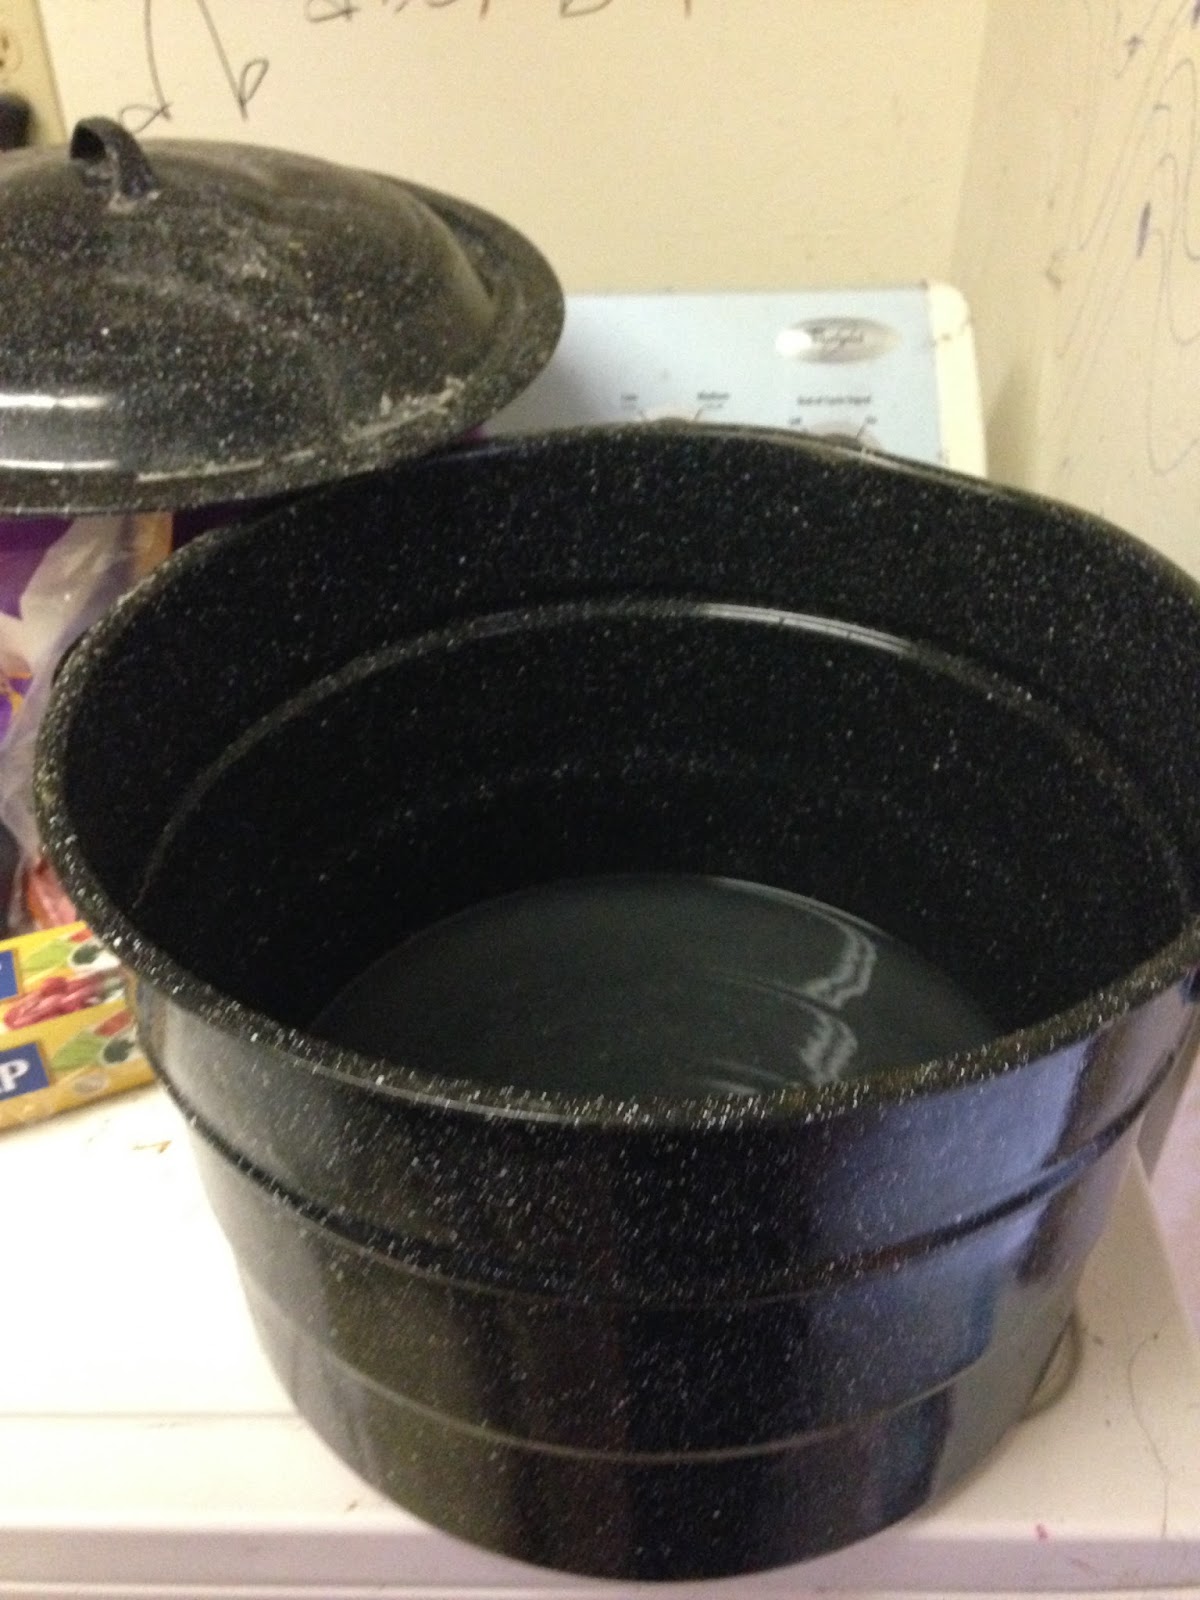
I started by mixing a little more than 1 cup of soda ash with a gallon or so of water. You will come to find in this tutorial that I rarely measure anything out. I just wing it. It's not rocket science.  I have this big canning pot just for my chemicals. If you don't have one of these, you can use a clean cooler, bucket, stainless steel sink, etc.  I use my canning pot and I re-use my soda ash until the water is either too dirty or gone.


I rolled up all of the loose straps and unbuckled everything so I would have extra stuff flopping around. I left my carrier in the soda ash solution for approximately an hour.


I also wore my galaxy leggings for color and placement inspiration.


Here is my setup for dyeing. It's a cheap plastic bin, some tall beer cans, and some cooling racks.  Very professional. I clean the grates and the inside walls of the bin each time I dye something.

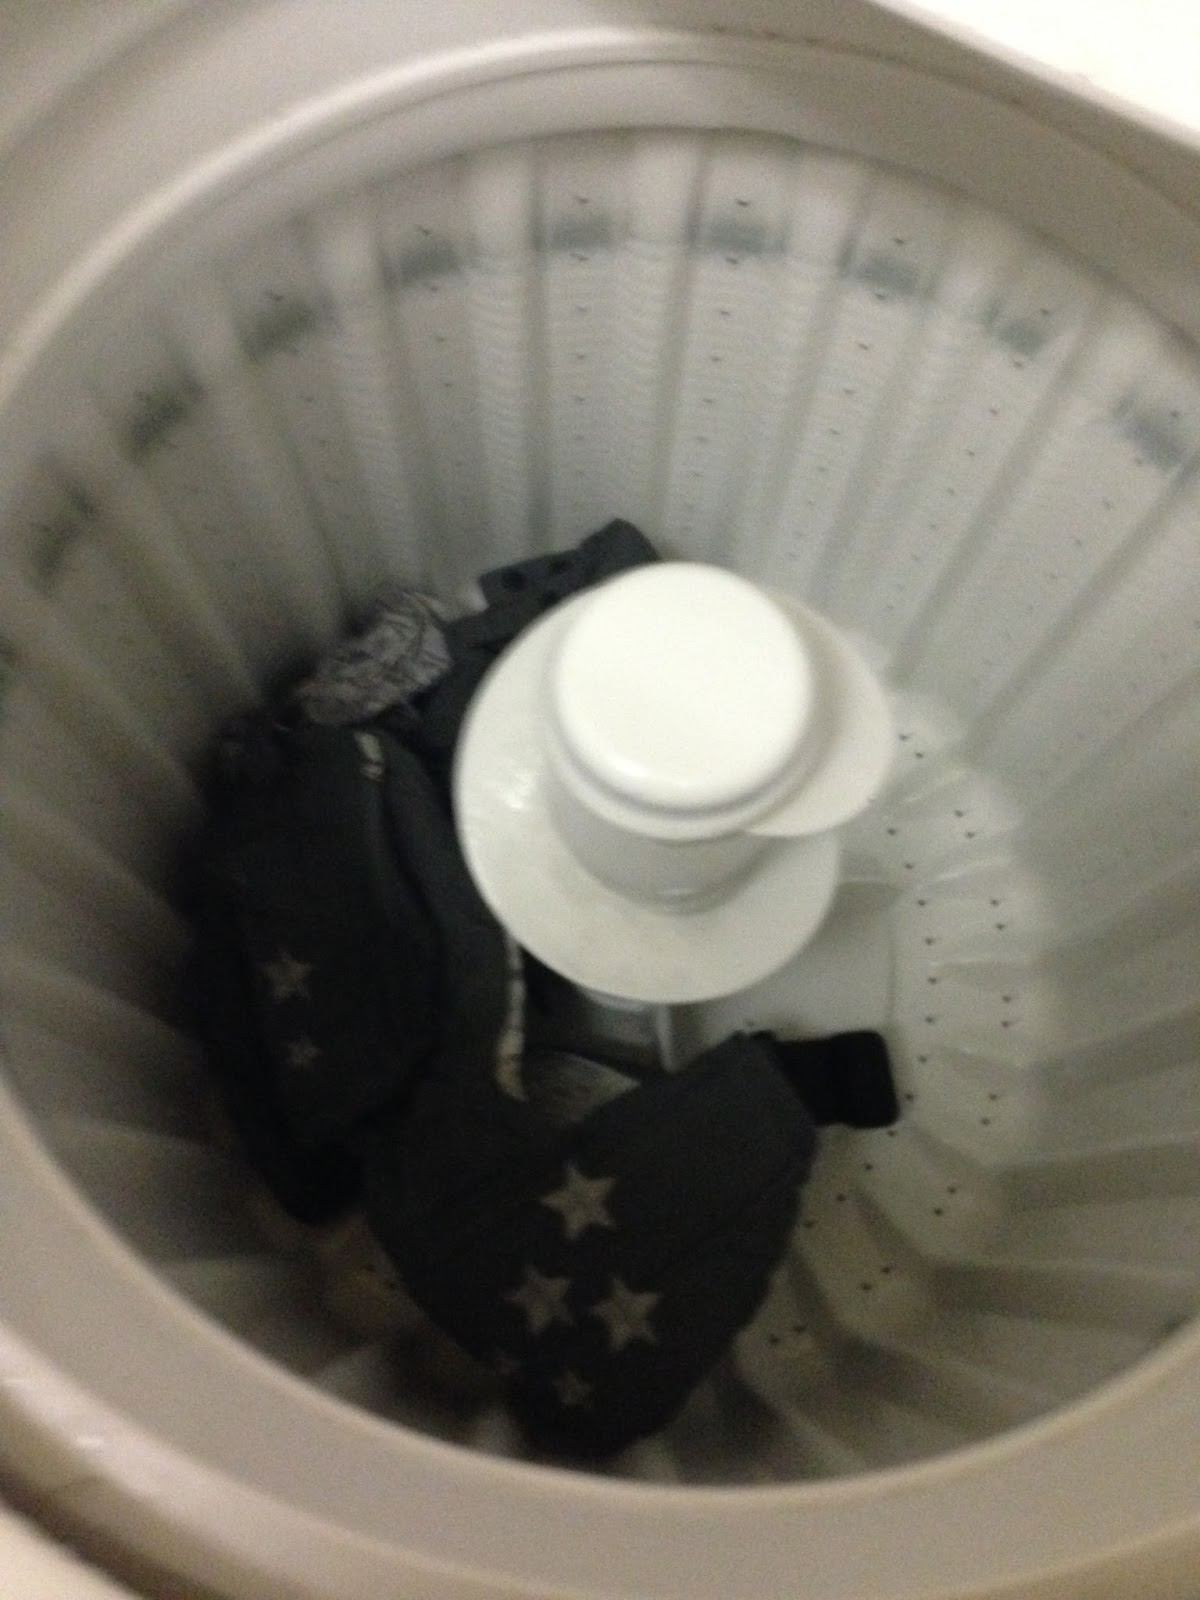
*wearing gloves* Ring out the carrier as much as you can so you don't waste precious soda ash, then put it in the washing machine on a spin cycle to get the excess moisture out.
 I mixed 4 colors. I used Dharma Procion MX dyes and I mix them about 1/2 of a tsp per cup or so of water. I just mix them in my jars or squirt bottles.  I already had the green and fuchsia mixed up (green is turquoise and lemon yellow mixed in even amounts, but I ended up not using any green at all). From left to right: Jet black, Jet black, green, fuchsia, turquoise, and the last jar is a dark purple. To make that color, I mixed 1/4 tsp of fuchsia, 1/4 tsp of turquoise, and 1/8 or so tsp of black. Always mix dyes with cold water. (also, this didn't use near as much dye as I thought it would, so I still have some of every color but fuchsia mixed and ready to dye something else. Dyes keep quite well as long as it's cool where you store them.


I laid the carrier loosely in the bin. It didn't really matter how because I maneuvered it a lot while I was slinging the dye on.


I started with the lightest color, fuchsia. I just put it on in random spots.
After I was "done" with the outside of the carrier, I flipped it over and put some pink on the back side as well so the whole carrier had dye.


...then the turquoise, again on both sides


.... then the purple


... and last the black. The black was the most fun because I just shook it all over the carrier.


I placed the carrier carefully into a black trash bag and flattened it out as best I could, then took the bag outside to batch for 24 hours in the heat of our Oklahoma summer. this was about 3:00 on Saturday, so it would be ready for me to rinse out after lunch on Sunday.


Sunday after lunch and a short nap, I opened the black trash bag and saved it to use for trash and started rinsing. I have a utility sink in my back yard that isn't hooked up to anything and I just use the garden hose to rinse my dye jobs. This one took a LOT of rinsing. I think I was rinsing this for at least 30-40 minutes. Just like dyeing your hair, you want to keep rinsing until the water runs clear.


I took the carrier inside and put it in the washing machine with a drop of blue dawn dish soap and my homemade laundry detergent (ingredients: grandpa's patchouli soap, borax, super washing soda, tea tree oil, and water), set it to wash a small load on hot, with extra power rinse.


I hung it outside to dry.


 I could not wait to get that carrier inside and put my tiny little boy in it. I have a borrowed infant insert and he fits perfectly. I may paint more stars on it or do something decorative on the hood, but I really love the way it turned out and I'm not sure it needs anything else. I also got my 3 year old in it on my back but he wasn't dressed appropriately for public pictures, so these are my only action shots for now.


Happy upcycling!


Wednesday, March 25, 2015

Customized Mei Tai soft structured baby carrier

I have recently become obsessed with babywearing. I wore Kylee in a non ergonomic carrier when she was a baby and carried her around in the carseat/infant carrier until she could walk. Now that I think about it, it was pretty ridiculous. With Joseph, I made my own ring sling and used it until he was almost 2. Then I discovered wraps and it seemed so cool. I could really do whatever I wanted to with that. Well, I joined a local babywearing group and got a cheap structured carrier from another mom. I really didn't like the fabric that was on it and decided that I would sew something over it before I used it for my baby (due in July). Well, after purchasing a few rainbow Girasol wraps and obsessively looking at buy/sell/trade babywearing group pages on facebook where people were always selling wraps converted to carriers, I decided I was going to customize my mei tai with a beautiful rainbow wrap. (here's a stock google image of the mei tai that I had. I suck at taking before pictures)

     I found some beautiful scraps from wraps other mom's had had converted to carriers (the leftovers) and made sure to get pieces big enough to cover the front and have a little leftover to make accessories, like a hood and suck pads. It took forever to get them both to me. One came from Canada and took several weeks and the other came from Georgia and went to Florida, then back to Georgia, then to Florida again before it came to me. Thanks USPS, for the anxiety. The wraps are called Double Rainbow Diamond Weave Purpura (top) and Northern Lights Diamond Weave (bottom). I did not realize when I bought them that they matched perfectly. I thought I would use one or the other.

     I wore Joseph in the mei tai a few times, and after studying other people's more expensive carriers, decided my carrier needed more padding at the waist as well as a new pretty fabric panel. I purchased some 1" high density foam from JoAnne's and cut it to size for the waist of the mei tai. I wanted it to go out on the straps a little so it would wrap around my waist, not be just on the front. A lady at the fabric store told me that I needed some peel and stick interfacing to make my fabric stick to the padding before I quilted it on my machine or it would move around. I didn't buy any of that. I went home and used my trusty E6000 glue (i use this for almost every project) and glued the fabric to the padding, leaving an inch and a half to 2 inches all the way around. (I used northern lights for this part). I started sewing the lines from the middle and moved out from there, keeping them as straight as possible. I really had to push and pull the padding/fabric through the machine. The presser foot barely lifted high enough to get the 1" padding through. I was worried that this would be harder than I anticipated. When I got to the last line, I folded the edge of the fabric under and held it tightly with my hand to sew that last line. I then sewed the end pieces down the same way.
Here is my finished waist padding:
I knew that I wanted a pocket on this too. I layed out my fabric and figured out which part of the rainbow I wanted on the panel. I found that this could continue down to the pocket and look really pretty. I cut my fabric 1/2 inch larger on all 4 sides for the panel and pocket (1" longer on one edge of the pocket so I could hem the top part of the pocket). I ironed everything and pinned it in place. I also sewed around the panel and pocket to make a nice crisp edge before I sewed it down. There was also a band of fabric with velcro on it that is used to cinch up the carrier to forward face your baby (which is not ergonomic or necessary, so I won't be using it, but I wont be cutting it off either), so I removed the velcro and pinned it back over the new fabric where it previously was. I went ahead and sewed the pocket to the waist padding so that it stayed in place while I hand stitched everything else down. It hung down past the waist padding to go to the bottom of the carrier, which stuck out about 3/4 of an inch below the waist padding. I think that ended up working nicely.
Everything looked great, so I took several hours to blind stitch everything down. On the waist padding and pocket, I sewed the padding down under where the pocket hangs down, then sewed the pocket down over that. I can't really explain what a blind stitch is, but basically, you can't see my stitching anywhere on this piece. It looks like it is just magically attached.  It also is as much work as if I could do magic. In this next picture, I was trying to get the stitches to show so I could tell you all how I did it. They would not show. this will also keep them from catching and pulling out or breaking.
I put the carrier on my dress form since my big boy was in bed at this point. I never thought I could finish this project in one day, but once I start, I just can't stop to sleep, eat, or anything.  Here is the finished  project:


The waist band can also be flipped up so that the padding faces your waist for a smaller baby.
Here is what this project cost me:
Infantino Mei Tai carrier: $15
2 pieces of Girasol wrap scrap: $30 and $20
1" high density foam: $2
purple thread: $2
total: $69.

Here is a screenshot of a custom mei tai for sale on a B/S/T page: Just examples of wrap conversions so you can see my inspiration. Mine is not that fancy but I think I saved some money trying to make my own and mine may be a bit more comfortable with the waist padding.


Thursday, February 26, 2015

Cat in the Hat inspired beanie

It's Dr Seuss week at my daughter's elementary school this week and I saw some people on facebook were looking for a red and white striped hat just like the cat in the hat's hat. I had purchased a large trash bag full of sweaters of all different colors and I thought I could make a beanie out of the sweaters for my daughter to wear to school.

step one: one red sweater, one white sweater.  both 100% cotton (not important) cable knit (for stretch and slouch), a bit of white yarn, some red/white thread (colors don't really matter), straight pins and sharp sewing scissors. Also, a sewing machine and sewing needle.

step two: cut the cuffs from the sleeves of the white shirt to make the band of the hat. Cut both cuffs into strips at the seam and sew them (wrong sides together) on the short sides to make a band. Try it on to make sure it will fit around your head.


step three: cut the bottom band off of both of the sweaters. You won't need them for this project. Then, cut a few strips of whatever width you feel like from both shirts (through both layers). I cut 2 from each shirt.


step four: line the cuff of your hat up with one of the red stripes. cut the red stripe about an inch or more bigger on each side (using both the front and back of the sweater). Sew this stripe, right sides together, on the short side like you did the cuff.  Pin the white piece to the red piece all the way around and sew. Make sure you are pinning right sides together.


step five:  lay out your stripes and cut each one to the desired length (again, cut through both layers, but use the fold). I used each strip of sweater twice. In the picture, you will see my first stripe sewn to the cuff of the hat, and each stripe laid out and cut to the size I thought would work. I was relying on the fact that I had more of my sweaters left in case I messed it all up. You can also see that the stripes aren't all exactly the same width, but it didn't matter.  The finished product looks great.

 step six: I sewed each strip together on the short end (right sides together), then pinned it on the previous one and sewed it before adding the next stripe. The smaller the pieces got, surprisingly, the more pins I needed. The red sweater was much stretchier than the white one.


step seven: I turned the hat inside out and sewed the top closed. I really can't explain to you how I did this. I kind of bunched the top hole into an X shape and sewed into the middle, then sewed the point of each X to the point across from it, if that makes any sense.  Basically, just gather it up and sew it back through several different ways. I turned it right side out and it's done except for the last step!


 step eight: use the white yarn (i used a long scrap) to make a large pom pom. I wrap the yarn around the 4 fingers of my left hand (loosely), then take a shorter piece of yarn and tie around the wrapped yarn in between my middle and ring fingers. Tie it tightly so it doesn't come apart when you cut it. Take it off of your fingers and cut the ends so it makes a nice fluffy pom pom. Now sew this to the top of your hat. I also frayed each piece of yarn in my pom pom to make it even fluffier.

...and it's done!  Here is my daughter modeling her hat. Now, an hour after it's done and I'm taking forever to write this tutorial, she is still wearing her hat and asked if she can sleep in it.